
Handlekurv
Handlekurven er tom, men det trenger den ikke å være
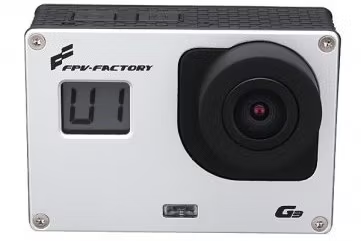
| Type | Model | G3 |
| Color | Black - Silver | |
| Sensor resolution | 5M | |
| Video mode | 1080p@30fps, 720p@60fps, 720p@30fps | |
| Picture mode | Single/serial | |
| Time-lapse video | 1frame/1second, 1frame/2second, 1frame/5second, 1frame/10second | |
| Mode display | LCD | |
| LCD screen | 2 digit | |
| Battery | 1100mAh | |
| Micro SD | 8GB or above | |
| USB | Mini 2.0 USB | |
| Charge | 5V/USB | |
| Dimension | 5.8 x 4 x 2.9cm | |
| Weight | 65g |
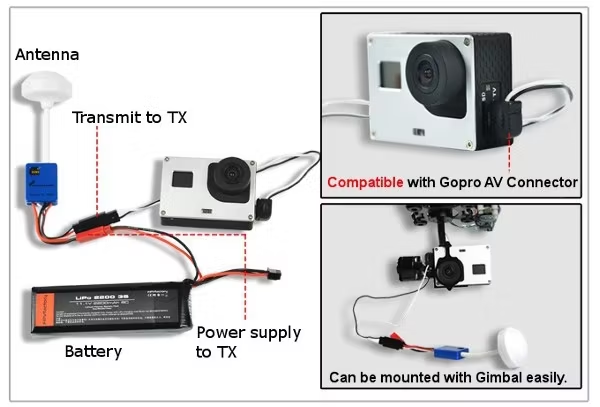
Meget bra og rimelig sport kamera som gir god HD bildekvalitet. Passer perfekt sammen med MI600S FPV sender og camera gimbal. Kan også brukes som vanlig kamera.


Handlekurven er tom, men det trenger den ikke å være